Pages

19 June 2013

Simplified Woodworking: 2 Tone Coat Rack Full Project

Over the years, I have read quite a number of books, magazines, and articles on woodworking. I've also watched a number of videos and shows too. From these, I have learned a lot about how to execute different tasks and techniques, as well as some principles of woodworking. However, something was missing from ever show or article I saw or read. What was it?


Alternatives:
Alternatives are what was missing. In what way? Well, while each show/article had photos and instructions, and while all were well written, they didn't teach people how to use simple tools to do the same job that the big professional tools do. These shows do often use simple tools in these projects. However, the focus was on the most efficient, precise, and easiest way to do the job. In wood working ease equals expensive, and therefore, is out of the range of many do it yourselfers.

Efficiency and ease are great, but only if the cost of tools and materials don't out weigh the need/function of the item being built. I've thought about, and calculated many times the cost versus need of the tools shown on these shows. In every case, I decided that, while I would love to have the table saw, bench planer, or drill press, I couldn't justify the cost. Once again, I don't have anything against these tools. There may come a day when I start to sell my works and I may just buy these for efficiency sake. For the time being though, I can build what I want, and need with simple tools. With a little creativity, a few extra hours, as well as some hard work, you can build just about anything with inexpensive hand tools.

That's why I'm starting Simplified Woodworking. The "simplified" doesn't refer to the projects that will be tackled, rather the tools and materials needed to tackle them. Since I'm no Pro, this will give me the chance to learn, help others, and make mistakes so that all of us can better our abilities.

One thing to keep in mind is that these projects are based on things I need for my own house. Even if you don't need these same items, you can use these projects to learn the techniques, and methods of wood working with simple hand tools.  These methods are used in many of the woodworking projects that you will want to complete. Something I've learned about woodworking is that any project can be as simple or complex as you want it to be. Keep in mind, that many times, simple is just as good as complicated, or even better. Others times, you will need a more complex method to allow for strength, durability, and quality. In the world of woodworking there are very few variation in methods of joining, cutting, and finishing. Techniques of each of these procedures can vary greatly. Still, each one serves a very important purpose.

As the projects are completed, I will do my best to explain all the methods used to the best that time allows in the videos. Also, I will explain these same methods in a written post. My explanations will include: why I am doing what I am doing, and also, what else could have been done instead.

At the bottom of the list you will see all the videos Parts 1 thru 6 of the project: Simplified Woodworking: 2 Tone Coat Rack. It goes over the design and the materials. Above each video, you will find a description of what each video contains.

Here is the list of tools and materials you will need. You can download the drawing that I did in Illustrator. (see image above). Hope you enjoy the videos, and let me know what you think.

The materials use for this project are:
- Plywood piece 7"x30"x1/2" (1) Note: Any wood can be used as long as it is the dimensions listed
- Plywood piece 6-3/4"x29-3/4"x1/2" (1) Note: Any wood can be used as long as it is the dimensions listed
- Wood Glue, epoxy, or Liquid nails
- 1/2" Dowels, smooth or grooved (1 stick=3ft long) Note: Smooth dowels will have a more finish and polished appearance. You can also use aluminum or steel dowels with an epoxy
- Flax seed oil / Small can  Note: Stains, polyurethanes, lacquers or varnishes can also be used if you choose to.)


Tools
- Circular Saw (Hand saw can be used)
- Hand Saw
- Drill (electric, manual, or cordless)
- 1/2" Drill bit / sharp
- Hammer (Wood, Rubber, or lightweight steel)
- Jigsaw (a Coping can also be used)
- Orbital Sander
- Sand Paper: 80, 100, 120
- Square
- Measuring tape
- pencil
-Application method for oils or coatings of choice. Consult your local hardware store for each product you may want to use.
- Safety gear: Safety glasses, ear plugs, and dust mask (suggested)

Before you watch video number one, please note the following information. 

I just realized that I had not gone over the part of how to cut the wood to the 7 inch height that I am using. Well, my suggestion would be this.

First, go get the plywood. If you do not plan on making/building multiple pieces of furniture, then just buy the pre-cut stuff from Lowes or HomeDepot. I've found that generally speaking, Lowes has a better selection of plywood. Remember, I'm not talking about particle board (MDF), or Chip/Press board (OSB). I mean real plywood.  Then go and read this link on how to make a straight edge for your circular saw. Measure down from the factory edge 7 inches on one of the corners of the 48 inch width, and then do the same on the other end. Using the straight edge again, cut the 24 inch by 48 inch board into a 7" ("=inches (just in case you didn't know)) by 30" board. Repeat until you have two boards of 7" x 30".

Now that you've thought about the sizing, it's time to think about the materials. There are a couple of easy options. Remember, there is nothing wrong with using pine plywood. Just remember that is scratches and dents fairly easy. That means that in less time your finished project could need to be repaired, or replaced. My personal preference of easily accessible plywood is Birch Plywood or Red Oak. These would be great on this project. Birch would work wonderfully as the natural back piece, and the Red Oak would look very nice as the designed 2nd layer piece. Please note that these two plywood's are my favorite, easily available plywood's, and ones that you can generally get from your local big box home improvement store. There are many more much attractive and different grained plywood's that are popular for wood working available also at any number of furniture quality lumber yards, or wood brokers.

You also can buy red oak in 2'x4' and 4'x8' plywood, just like the Birch. If you want a real 2 tone look that is 100% natural, buy one sheet of the Birch and one of the Red Oak. Using the Red Oak on top. However, if you want to save a little money, you can cut the 2'x4' Birch sheet into 2) 7"x30" pieces and stain one piece with a cherry, mahogany, ceder, or walnut stain. Just something to contrast the boards with.

If you choose to stain, just make sure you stain the top board after you cut the design out, and stain all the edges, and about an inch onto the back all around. This way it will be less noticeable that it was stained.

Please forgive the quality of these videos. This was my first tutorial, and the video equipment I was using was not the greatest. However, I've been told by many, that the project and information is very good. I'm working to improve my videos for the future. 


Now we're on to part 2 of this project. In part 2, I go over cutting the front and back boards and drawing out the design. There's not much to explain for this part, so I'll leave you with the video below and let you continue on your way.


Here in part 3 learn about cutting the design out of the top board.


Part 4: Here you will learn about the sanding process and choices that I decided on.


Part 5: In this part, I go over the assembly process of the coat rack.


Part 6: This is the video where I go over the finishing process of the coat rack.


18 June 2013

A Few Pieces I Thought You Might Dig

Amidst Mod is about all things Mid-century Modern in design, and influence and as I go thru all my searches, I find that there are a number of independent design studios, individuals, and small designers that create truly mcm inspired pieces. So inspired in fact, that if you can get past the designers name, the fact that it's not a known design, and that they are not 50-70's year old, you might just like having them as accents in your retro/mid-century inspired home. 

I dig thru a lot of sites looking to bring you all the best designs that I can find of the original Mid-Century Modern and the Mid-Century revival. This is no small feat, and I enjoy it immensely.

Today, I'm bringing you a grouping of items that I have found on Etsy.com. Each of these items are inspired by, but not from, that wonderful space age era known as Mid-Century Modern. So, forget the vintage/collection value, the name, and the year. Just sit back and enjoy the design. I mean, that's what drew us to Mid-century modern before we knew about the designers, and their names, right?

*Before looking any further, please note that all photos are the property of the designers/studios/companies mentioned for each piece.  Also, none of the featured designers/studios/companies are offering any reimbursement for the publicity of their products on this site. All features of Amidst Mod post are done on a, "because I want to basis", and not based on a monetary agreements.


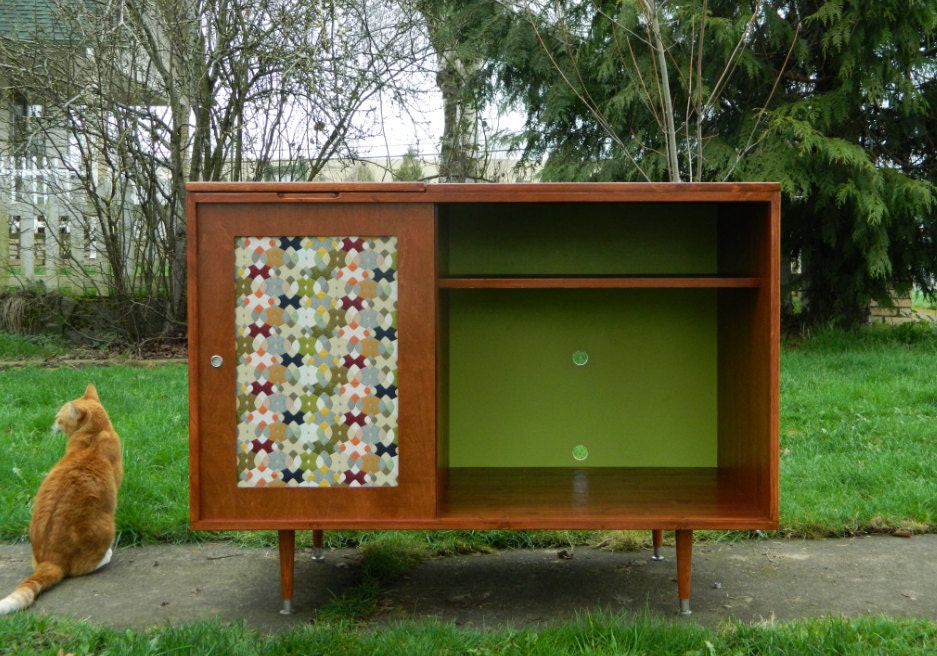
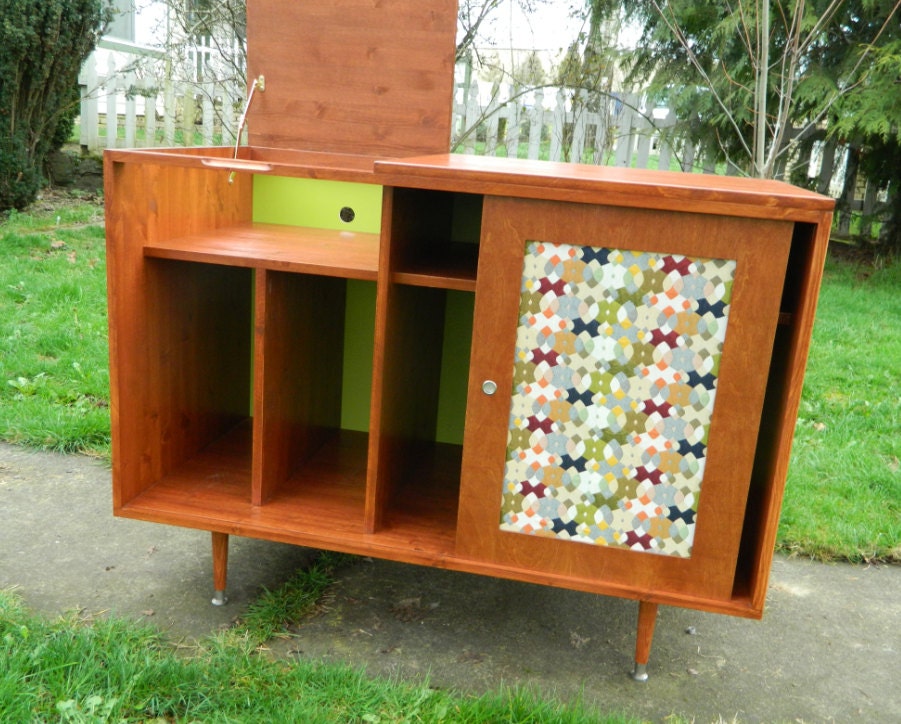
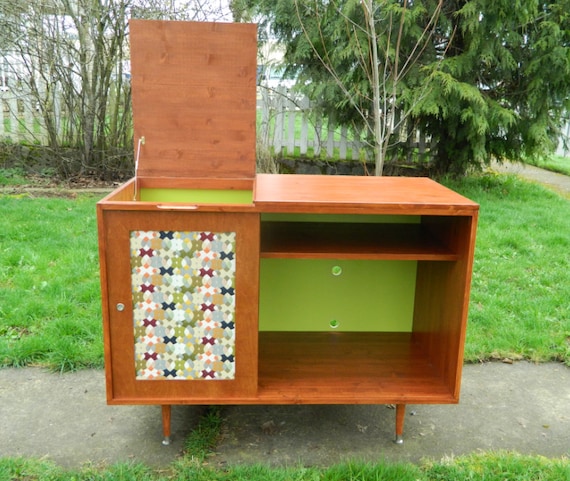
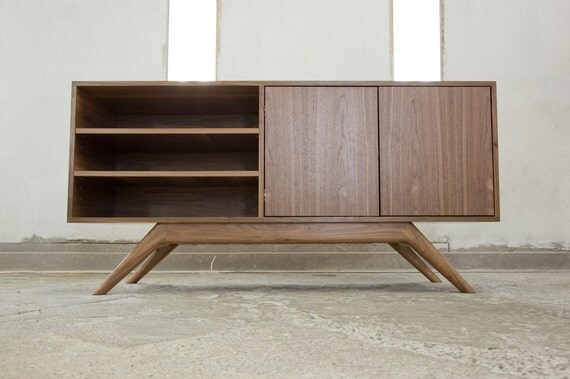
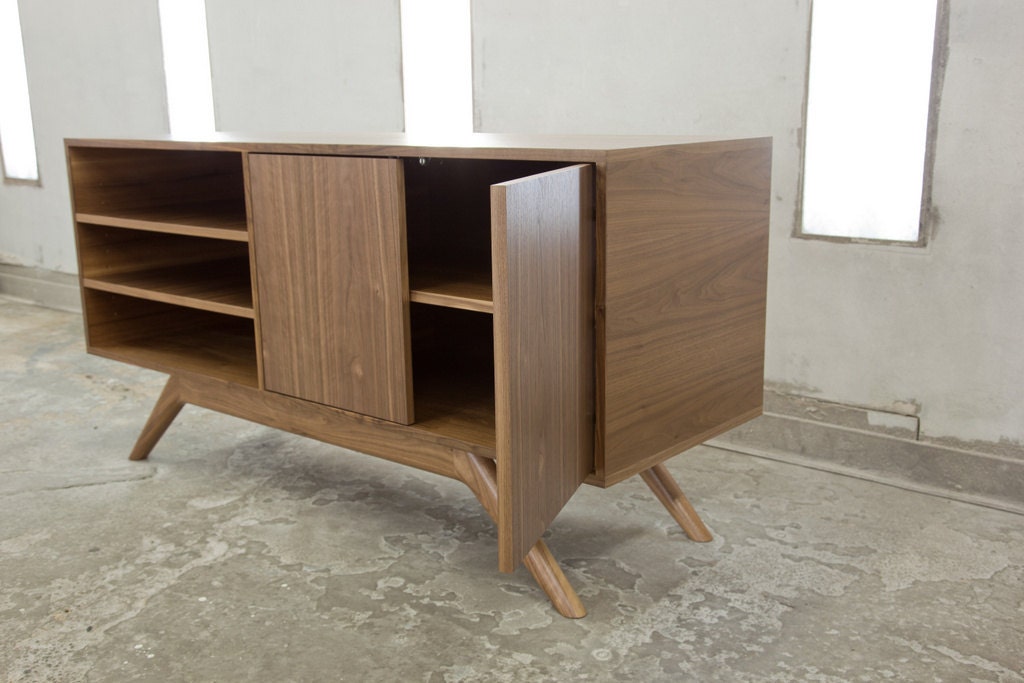
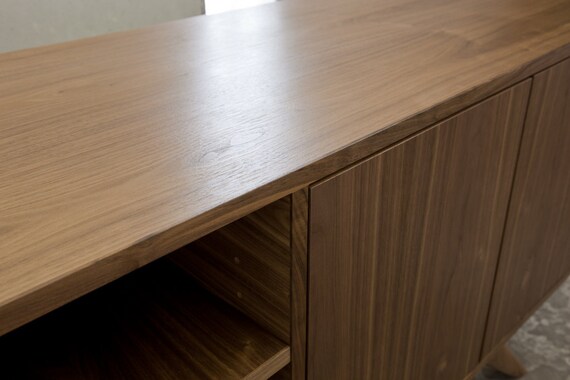
 This Stereo Turntable Cabinet  is from OrWaDesigns. It is a Mid-Century inspired stereo cabinet. One that, from the looks of it, could have actually been produced in the era of Hi-Fi stereos.

This one measures 48" long x 32" tall x 20" deep. It also comes in other colors of stain, so make sure you go by and check this pieces out.


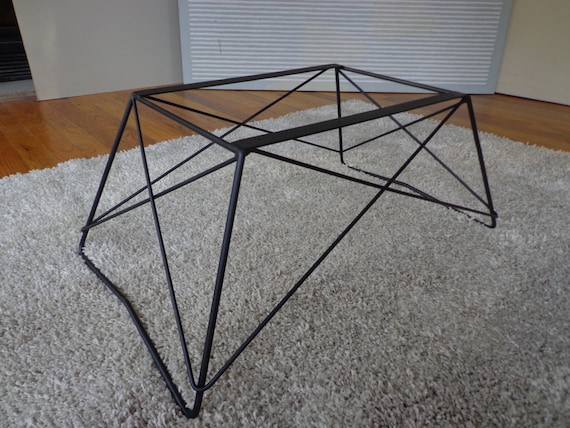
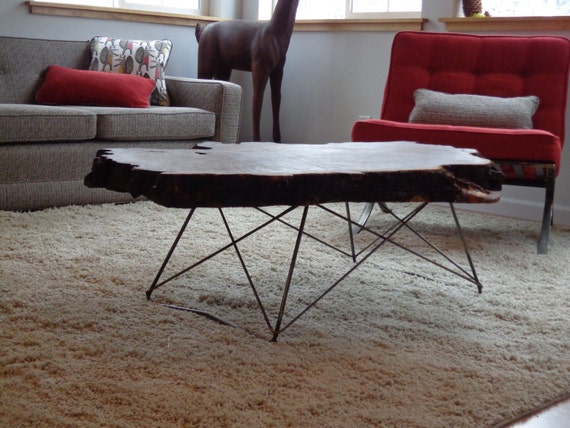
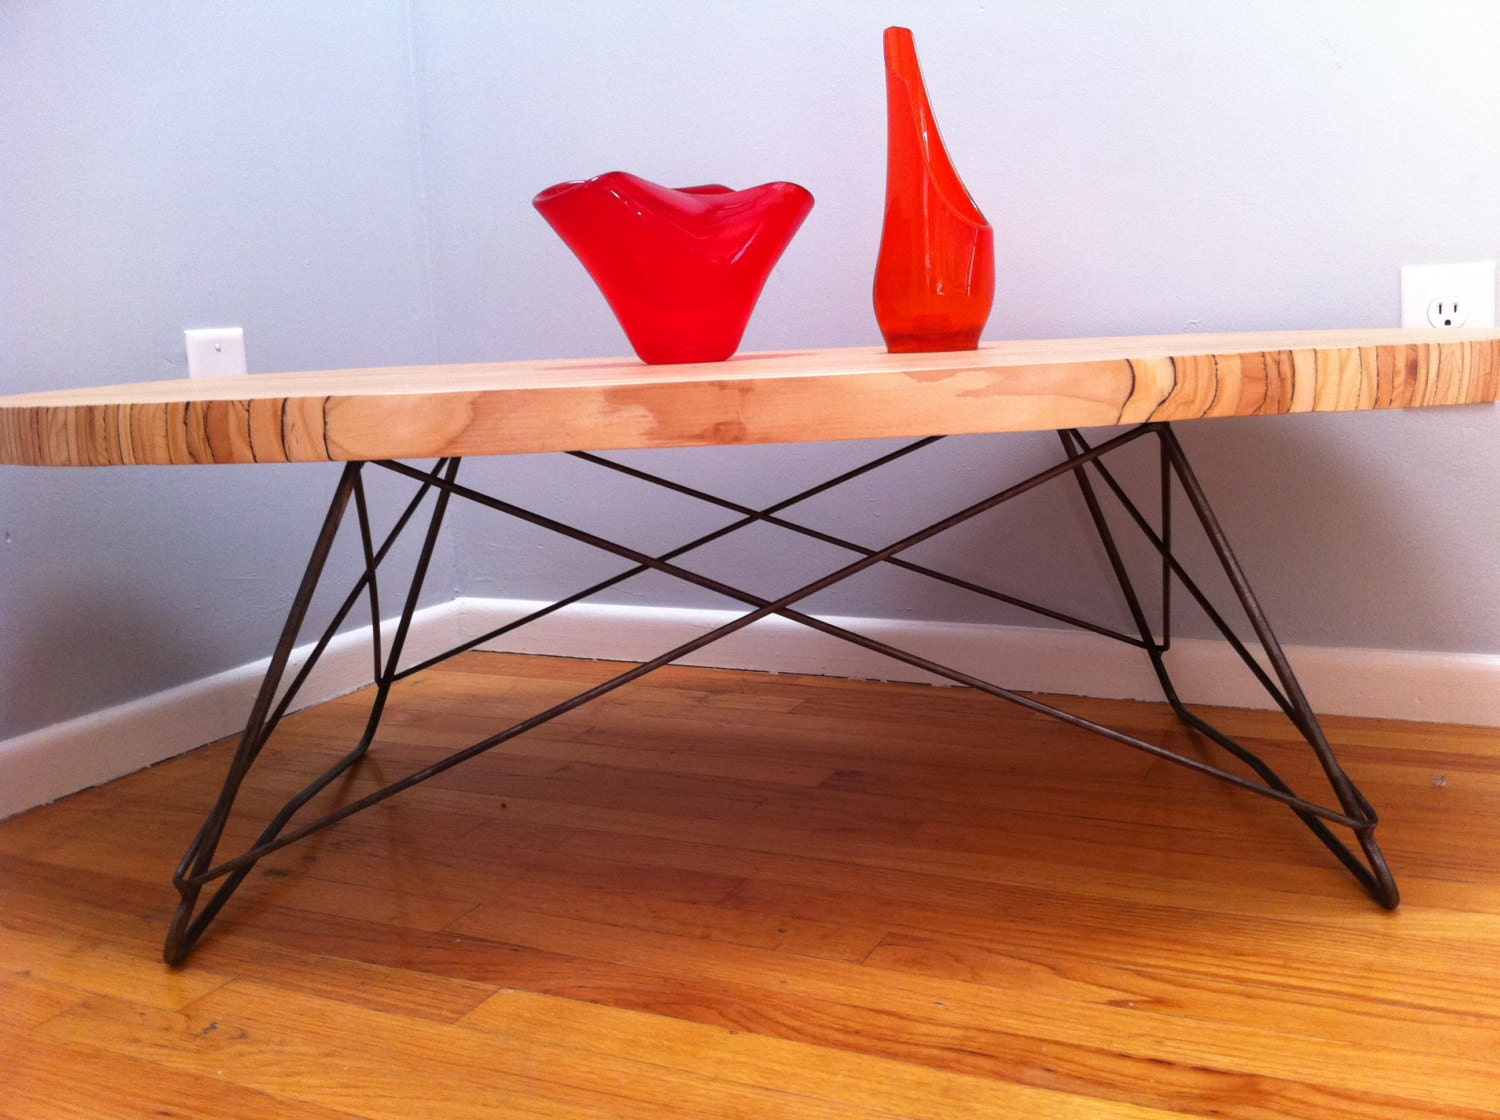
These "Cats Cradle Coffee Table Bases" from Popcelona are a really nice piece to look at if you happen to find a great natural edge slab piece and want to use it as a table, but don't know a thing about wood working or leg making.
Having clean welds and nice paint marks these interesting bases with an even more outstanding looking.

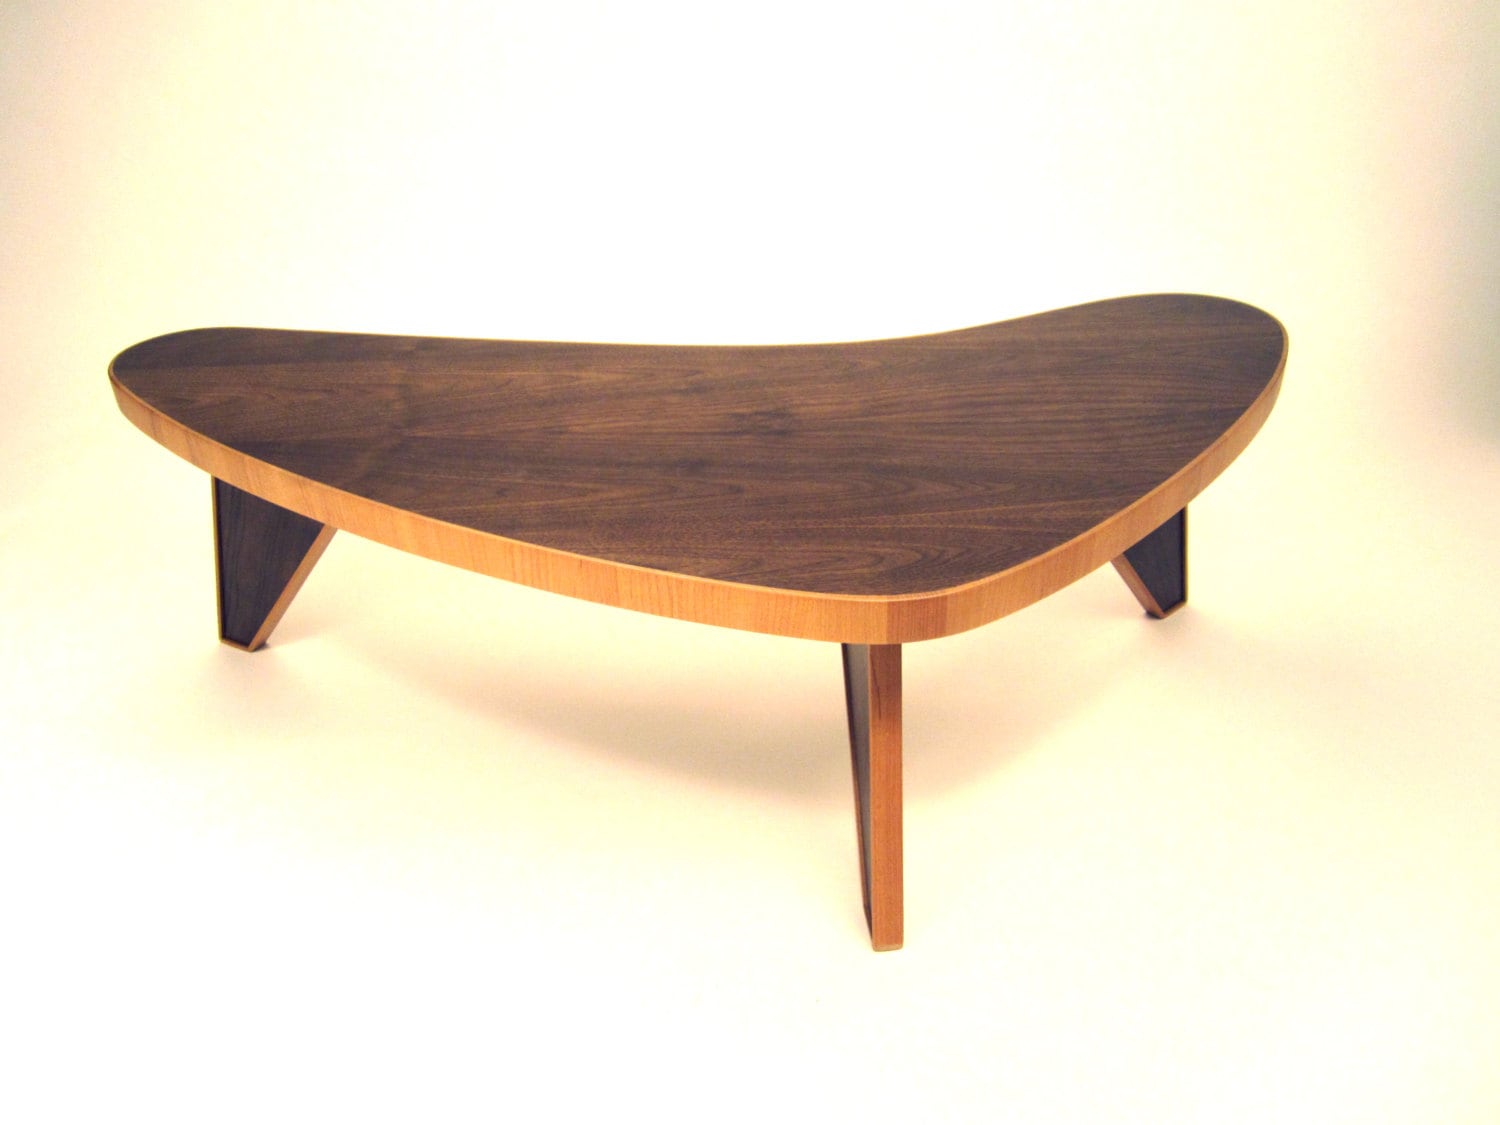
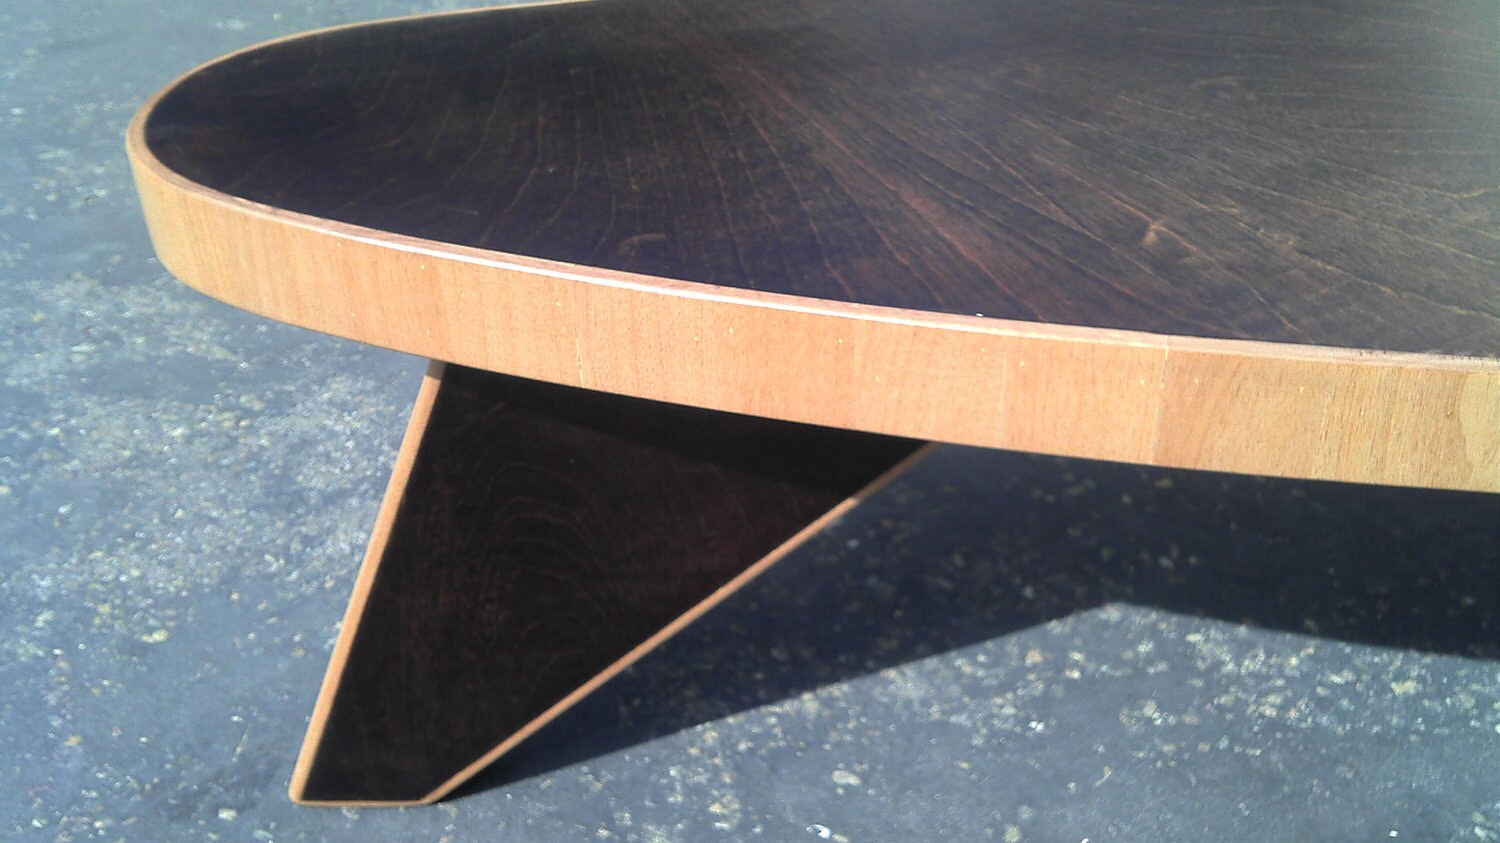
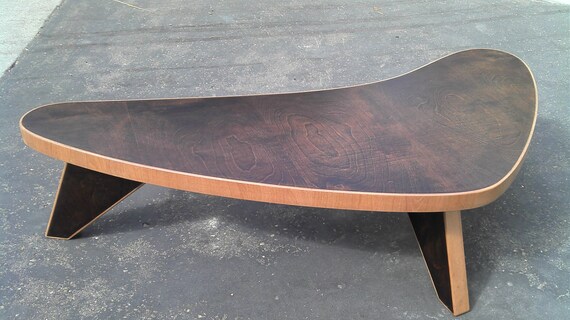
This Boomerang Coffee Table from Arboriform is a really nice piece that could really set a mid-century or retro interior in the right mood. Arboriform offers this table with matching edges and in a couple of material options. Being as beautifully crafted as it is, it's a definite focal piece that desires to be shown off. 


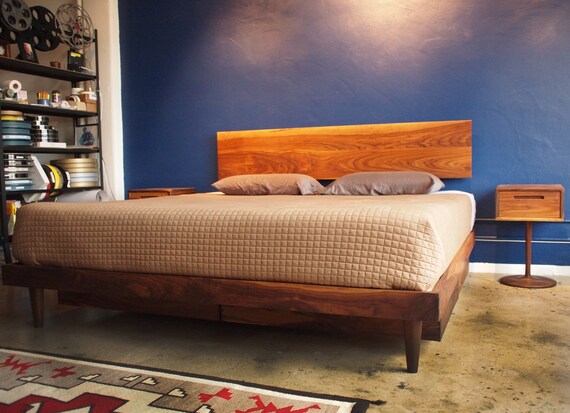
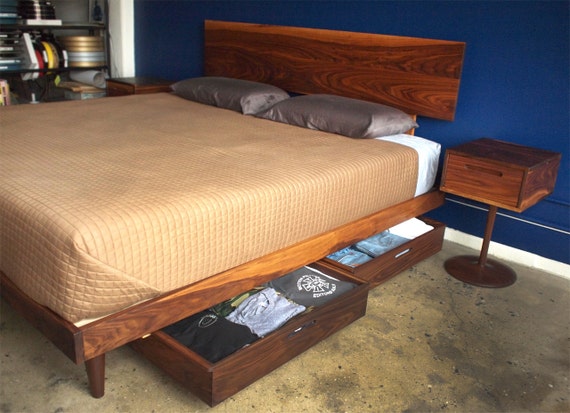
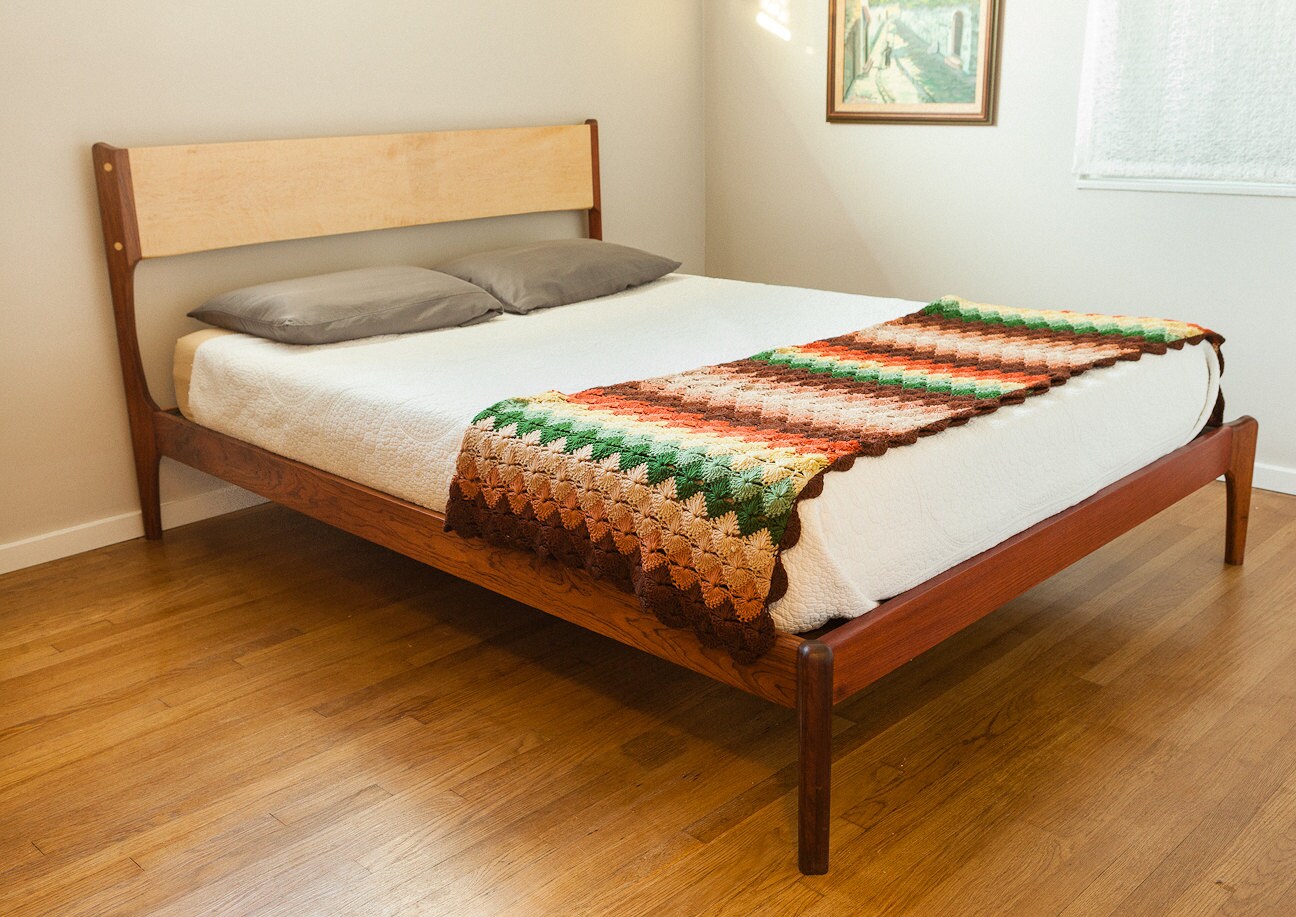
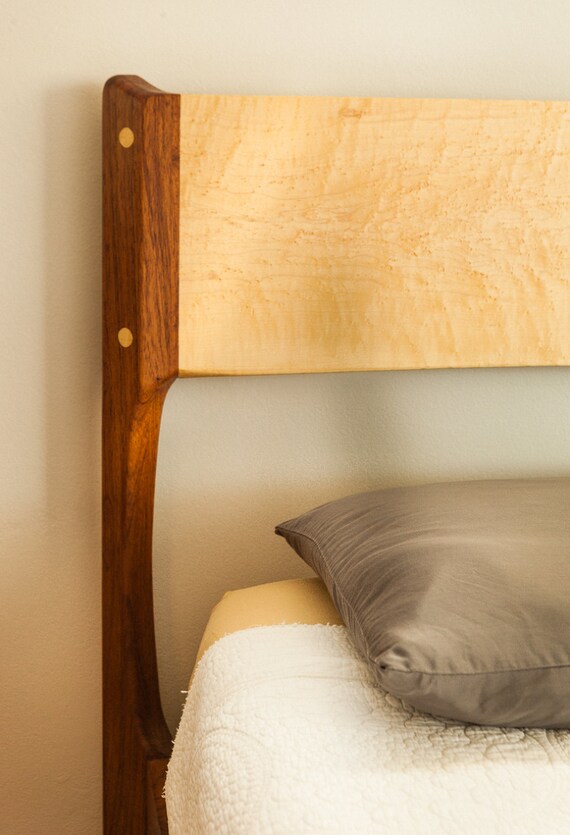
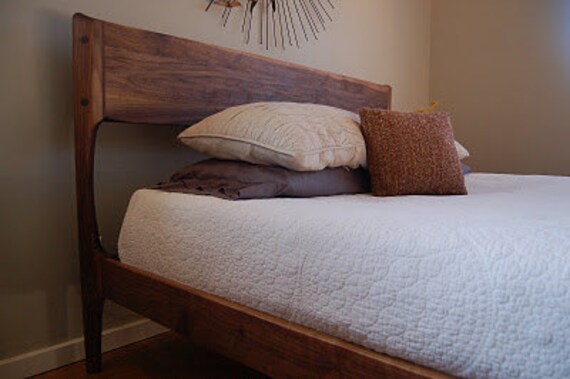
Peter Deeble's Danish Modern Turned Leg Bed is a beautiful and useful bed that would complete the most modern of the mid-century bedrooms your could create. It not only looks great, but it can be made to your specifications. Such things as mattress height, mattress size, and height off the floor can all be adjusted to your desired specifications as this well crafted piece is being made. For more info, check out the links above.

Did you miss out on that awesome vintage mid-century modern buffet/credenza? Well, cheer up.  Yoshihara Furniture NW's Media Credenza could be sold in any MCM furniture with the most talented mcm furniture buyers wondering if this isn't just a model that they may have missed in their studies. So, take a look for yourself, and put your mid-century modern know-it-all friends to the real test. 


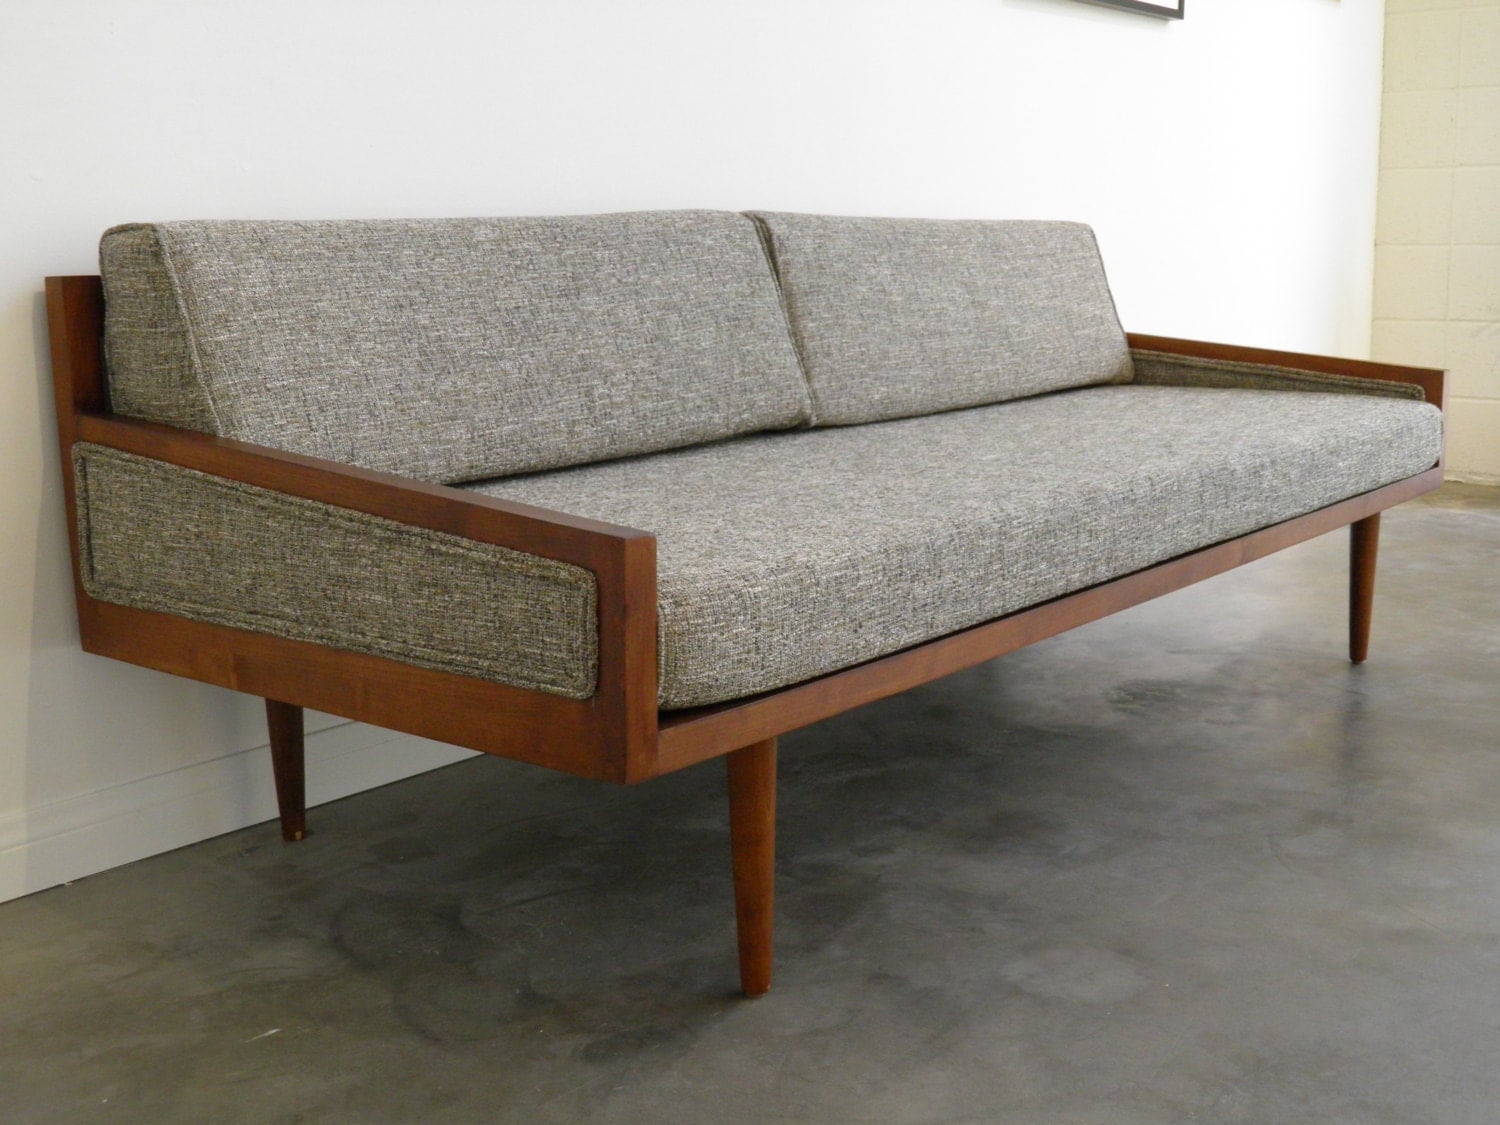
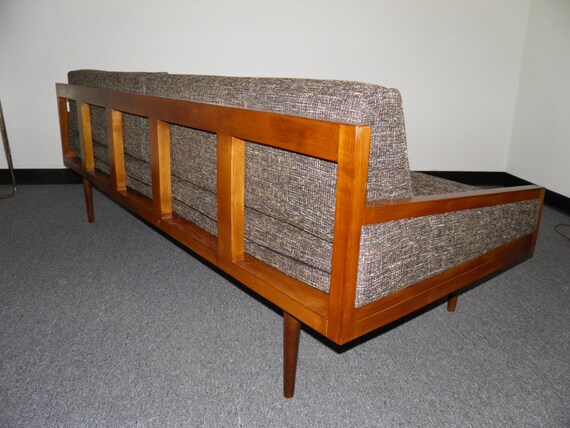
GoRetroMod has put together a Danish Modern styled sofa bed that will make any of us less distressed that we decided not to pick up "the one" Danish Modern sofa bed at that mid-century furniture store. Plus, with this piece, you can even choose color combinations, and the springs won't even be worn out. 


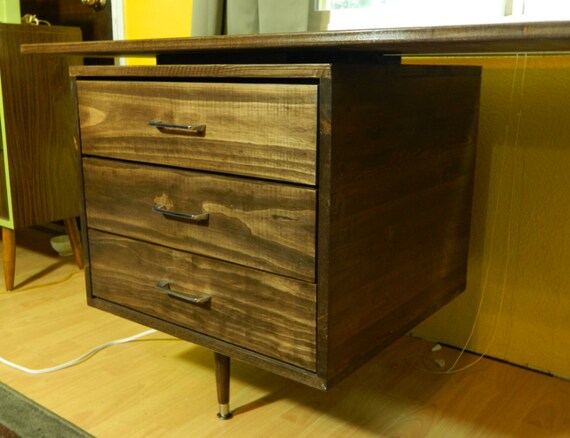
The Don Draper Desk by OrWaDesigns is, yet another design that this designer has defined by the use of clear  Mid-century influences.  As this desk is offered in multiple stains, you will be able to match your desk to the accessories you found from all those little shops over the years with out having to wait, hoping for the right desk to come your way by chance.


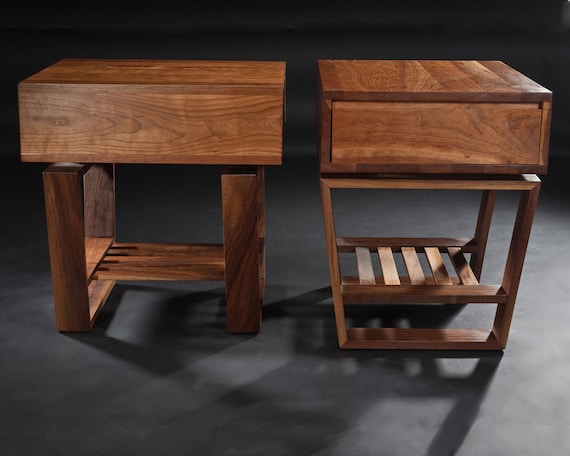
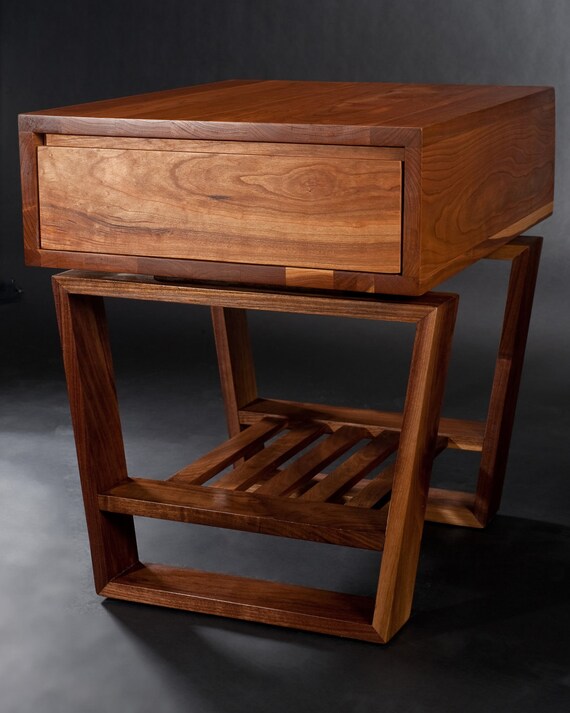
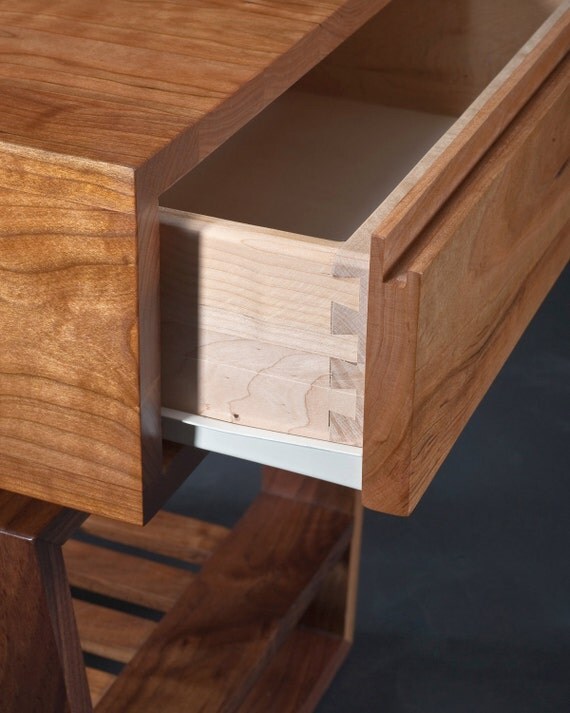
This gorgeous Mid-Century Modern Styled End Table by GCoulsonFurniture is very unique and beautifully finished. While making a very bold statement of individualistic style, yet keeping the line and symmetry classically mid-century modern, owning this piece would make your interior a truly unique showcase of mid-century modern styling and taste. Showing a truly artistic take on an old, but not dead design mentality.


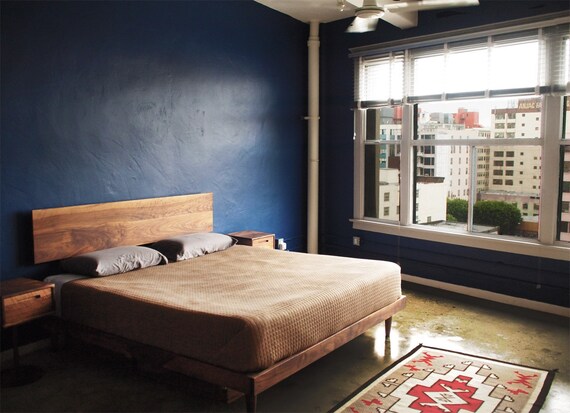
Danish Mid Century Modern Bed by Peter Deeble is yet another breath takingly beautiful Danish styled bed that could pass off as an original Mid-Century Modern piece. Being made to specific size for each client, it shouldn't be hard to find the fit that you would want for your own room, or that of your design conscious friends.


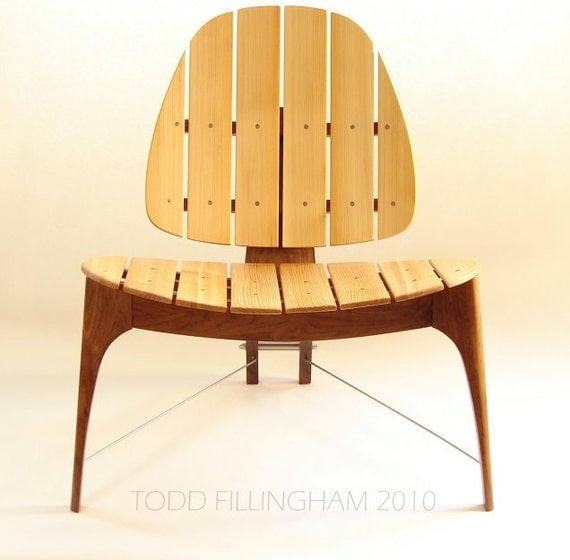
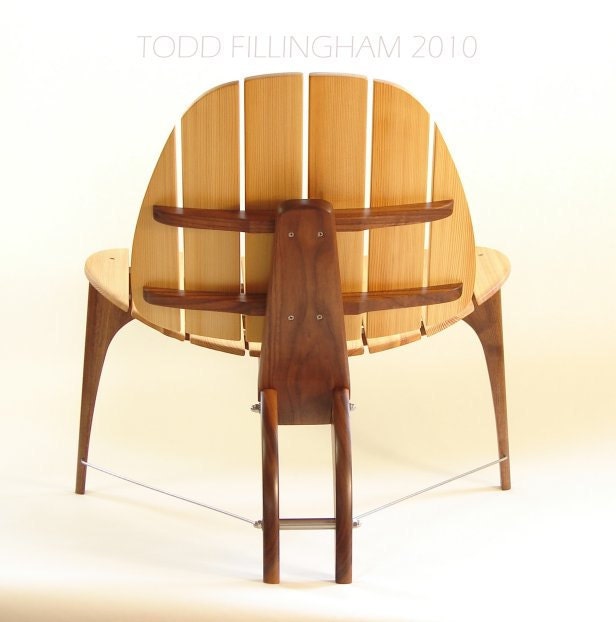
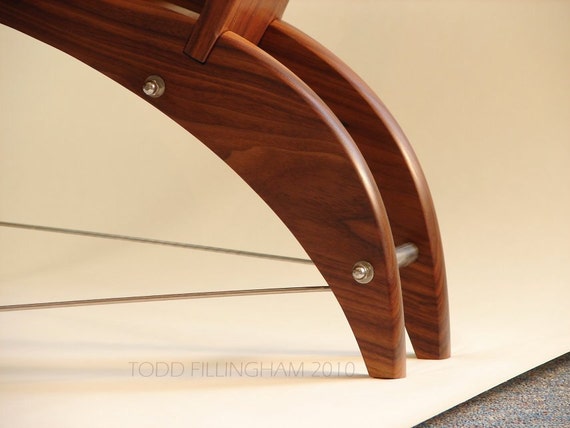
Todd Fillingham has done it! He has created this wonder Deck Chair that will fit whatever Mid-century Styled cabin, vacation home, or residence you can buy or conceive. And that's no small feat. Believe me... I know from experience how hard it is to find decent outdoor deck furniture that fits the mid-century modern feel. With this chair though, there's no need to worry. It's a dead ringer for this genre, and looks comfortable too.

Knoll @ 2Modern.com - Modern Furniture & Lighting

Screen printing

17 June 2013

Functiional Art: Mid-Century Clocks Part:1

Photo Source: http://www.contextgallery.com/shop/cone-clock/
If we sit down and really look at all the pieces in the house, what is the one thing that would make a our lives almost impossible to live without? A time telling devise. Many would reply:"I don't really use clocks anymore though. Now that I have my cell all the time." This may be true, but is it design worthy of your interior?

Like any other piece in the house, a poorly chosen clock can add to, fade into, or disturb the ambiance and feel of the interior of your room. Which ever room it may be. Cell phones and contemporary/modern electronic devises tend to create a undesired and an uncomfortable mix with the retro environment. While there is nothing wrong with having modern electronic devises that display the time on them, they tend to break up the fluidity and don't really add to the room. Rather, they distract.

We all know that we have computers, dvd players, tivo styled devises, and cell phones that are being hidden around our house so that our visitors think the purist thoughts of mid-century/retro-ism exist in our 15,000 sf (more or less) piece of the universe. Still, while the guests are there, you want them to be able to see what time it is. To accomplish this, you have a few options. One, is to have your cell always out laying around on the Heywood Wakefield end tables. Secondly, you could make sure the media cabinet door is open to view the dvd/tivo devise for the time. Or, third... you could enhance your interior design, ease the feeling of your guest while being in your house, and provide the the time by something artistic and beautiful to look at. A really functional piece of art.We call such devices... CLOCKS. Not just any clock though, will do.

Seeing as though many mid-century and retro enthusiast are into styles from a wide range of years, I thought that I would do a series over the next few weeks to help orientate people to clocks that might work for your interior.

Today, I thought I'd start with clocks that represent the 1940's time period. In the 40's modernism was starting to slowly, but surely gain ground in the homes of America and many other countries. At the same time though, this ground gaining was still a long and hard process. So, it's hard to find many "modern" clocks from the time period that would be like what most people think of as mid-century modern. However, that doesn't mean the clocks didn't have style, or that they won't fit into a retro modern themed interior. Let's take a look at some the 40's styled clocks that I have found^.

Click Here

Early Design Resurfaces
Before the World War 2 ended, there where generally not many new accessories or designs being manufactured for the masses. Materials were short and, what did exist was going over to the War/Defense departments.

It wasn't until after WWII stopped that many of clocks and other house hold accessories started to be produced again, and even then many where made in short run order based on the materials available. Also, due to the "pause" in domestic convenience design, caused by the war, much of what was produced from 1944 to to 1948 (more or less) where the same designs that had been sold when the war began. These designs already existed and where the easiest product to produce, since the public was clamoring for nice stuff, and there was little time to design, engineer, and test new concepts. However, clock designs, along with everything else, started moving forward rapidly.

 Simple Round Wall Clocks
Being as though people wanted new things, and that there was a shortage of new materials. Many products where really reduced to the bare necessities. This is, in part, one of the reasons modern design began to come into a fuller focus of the masses.
Photo Source: Etsy.com Dailyshopper

Art Deco, as a design genre, had been around for a while and it had been accessible to the elite only. Now, however, these designs of the elite where being boiled down to the barest of design. Stripping away the fluff and leaving the design in a simple and solidified design. Having some steel scrap and overages from different war product manufacturing plants that closed or changed focus after the war. Therefore, metal became a material commonly used in home product designs.

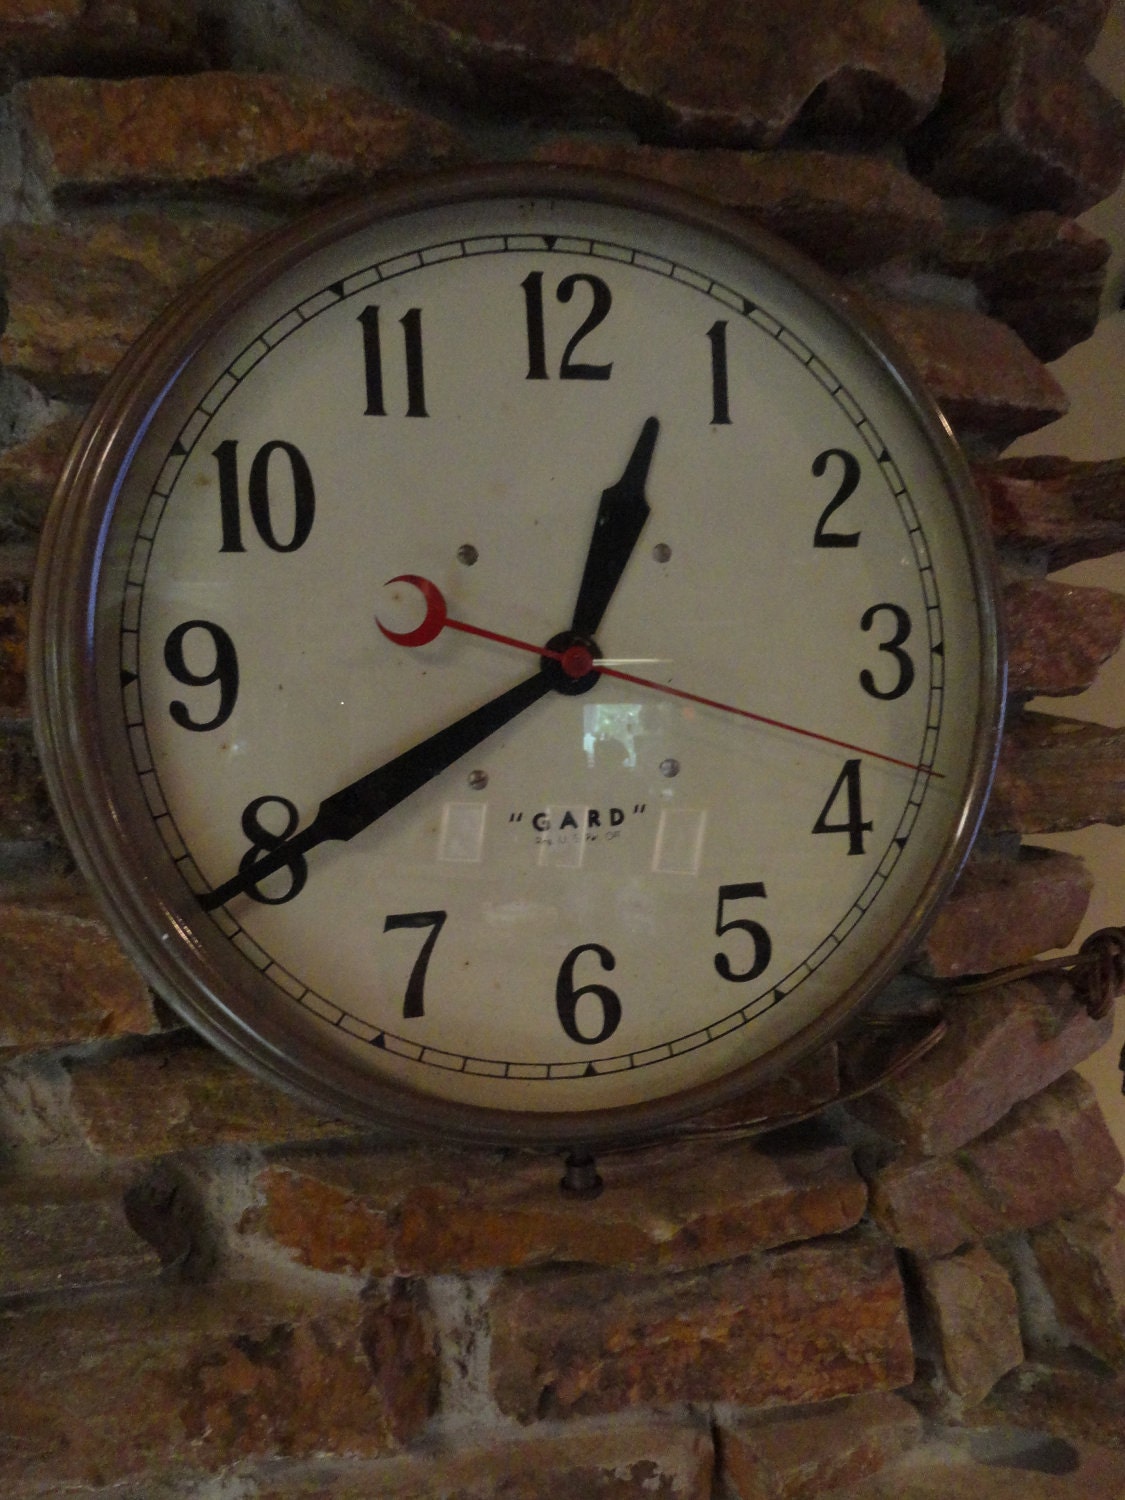
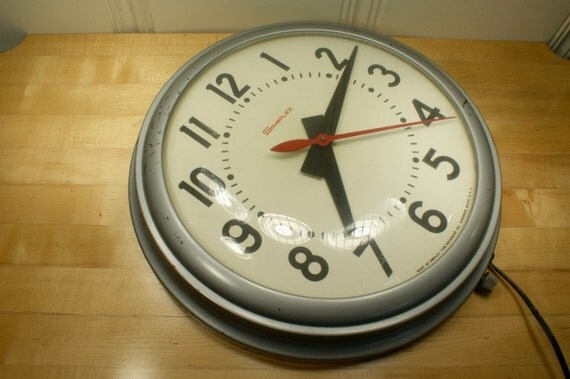
Round wall clocks are a good example of this design change and the, getting back to roots modern design. These pieces were generally made of all metal, or metal with a synthetic face backing. Some where with wood or paper face backing as well.
Photo Source: Etsy Electric Forest

Simple Yet Detailed Clocks
While the simple round metal clock continued to be used until, well... today... With time it's simplicity gave way to greater design detail.
Photo Source: http://lallistaste.blogspot.com/

Even though desk clocks and the such had been around during the simple round clock stage, the more elaborate clocks started to pick up in sales as materials and household incomes began to flow more freely.

Still holding onto the Art Deco influence, most of the clock were encased in wood, had soft lines, and were somewhat weighty in their appearance. However, this gave way quickly to a more modern, liter look. One that mixed materials in a different way, while applying contrasting colors, and not just using woods for contrast.
Photo Source: latimesblogs.latimes.com
  
The Future Came Crashing Through!
Photo Source:www.fancyhouseroad.com
While all these other stylings where still developing, a few designers had the future, and therefore, a different modernity on their minds. One of these designers was George Nelson. His designs were much more futuristic. They created a since of movement, and lightheartedness in their being. Simply put, they were atomic in their design power.

Photo Source: http://www.retro-housewife.com
George Nelson's and others designed clocks, amongst other things, would change the face of modernism for ever.

These clocks had a light, yet powerful presence. They made the whole room have fluidity to it, inspiring the since of time travel. Being made of metals, woods, glass, and plastics, they showed the newest advances in science, while not being harsh to their surroundings. Their conception was based on an optimist future, and their shape, on atomic energy and interstellar travel. These clocks really made an impact. One so strong, that these same designs today are carried as timeless for modern and traditional enthusiast alike as being good in design nature.

Photo Source:apartmenttherapy.com
Above are just a few examples of the styles of modern clocks from the 40's. However, these are just the beginnings of the Mid-Century Functional Art that we know as clocks.


 ^I will use the term 40's styled clocks, because, some clocks may actually be from a different decade, but have the same styling that was popular in the 40's.